How to Patch a Hole in a Piece of Clothing
The act of visible mending goes deeper than just surface level repair. It brings a beautiful meaning to an otherwise unsightly flaw and serves to bring positive attention to imperfection. Not to mention, it can extend the life of your beloved textile by decades—keeping waste out of the landfill and money in your wallet. This how-to guide will show you the basics of how to patch a hole in a garment, while giving you the creative freedom to choose how you’d like the mend to look. Those new to sewing can follow the included stitch tutorials and base your design off one of the examples or do a full freestyle from your wildest dreams.
WARNINGS:
Sewing Scissors
Cut in a direction away from fingers and hands.
When you are done using the scissors, place the scissors away from table edges so they won’t fall to the floor.
Pins/Needles
If you accidentally drop pins on the floor, pick them up right away so they won’t injure someone.
Don’t hold pins in your mouth, use a pin cushion or holder.
Use a thimble if needed to avoid injury while pushing the needle through the fabric.
Please take care with sharp objects. <3
Tools & Materials:
Required
fabric
needle
embroidery floss
embroidery hoop
scissors
glue stick or pins
Optional
beads
water-soluble/erasable pen
Steps:
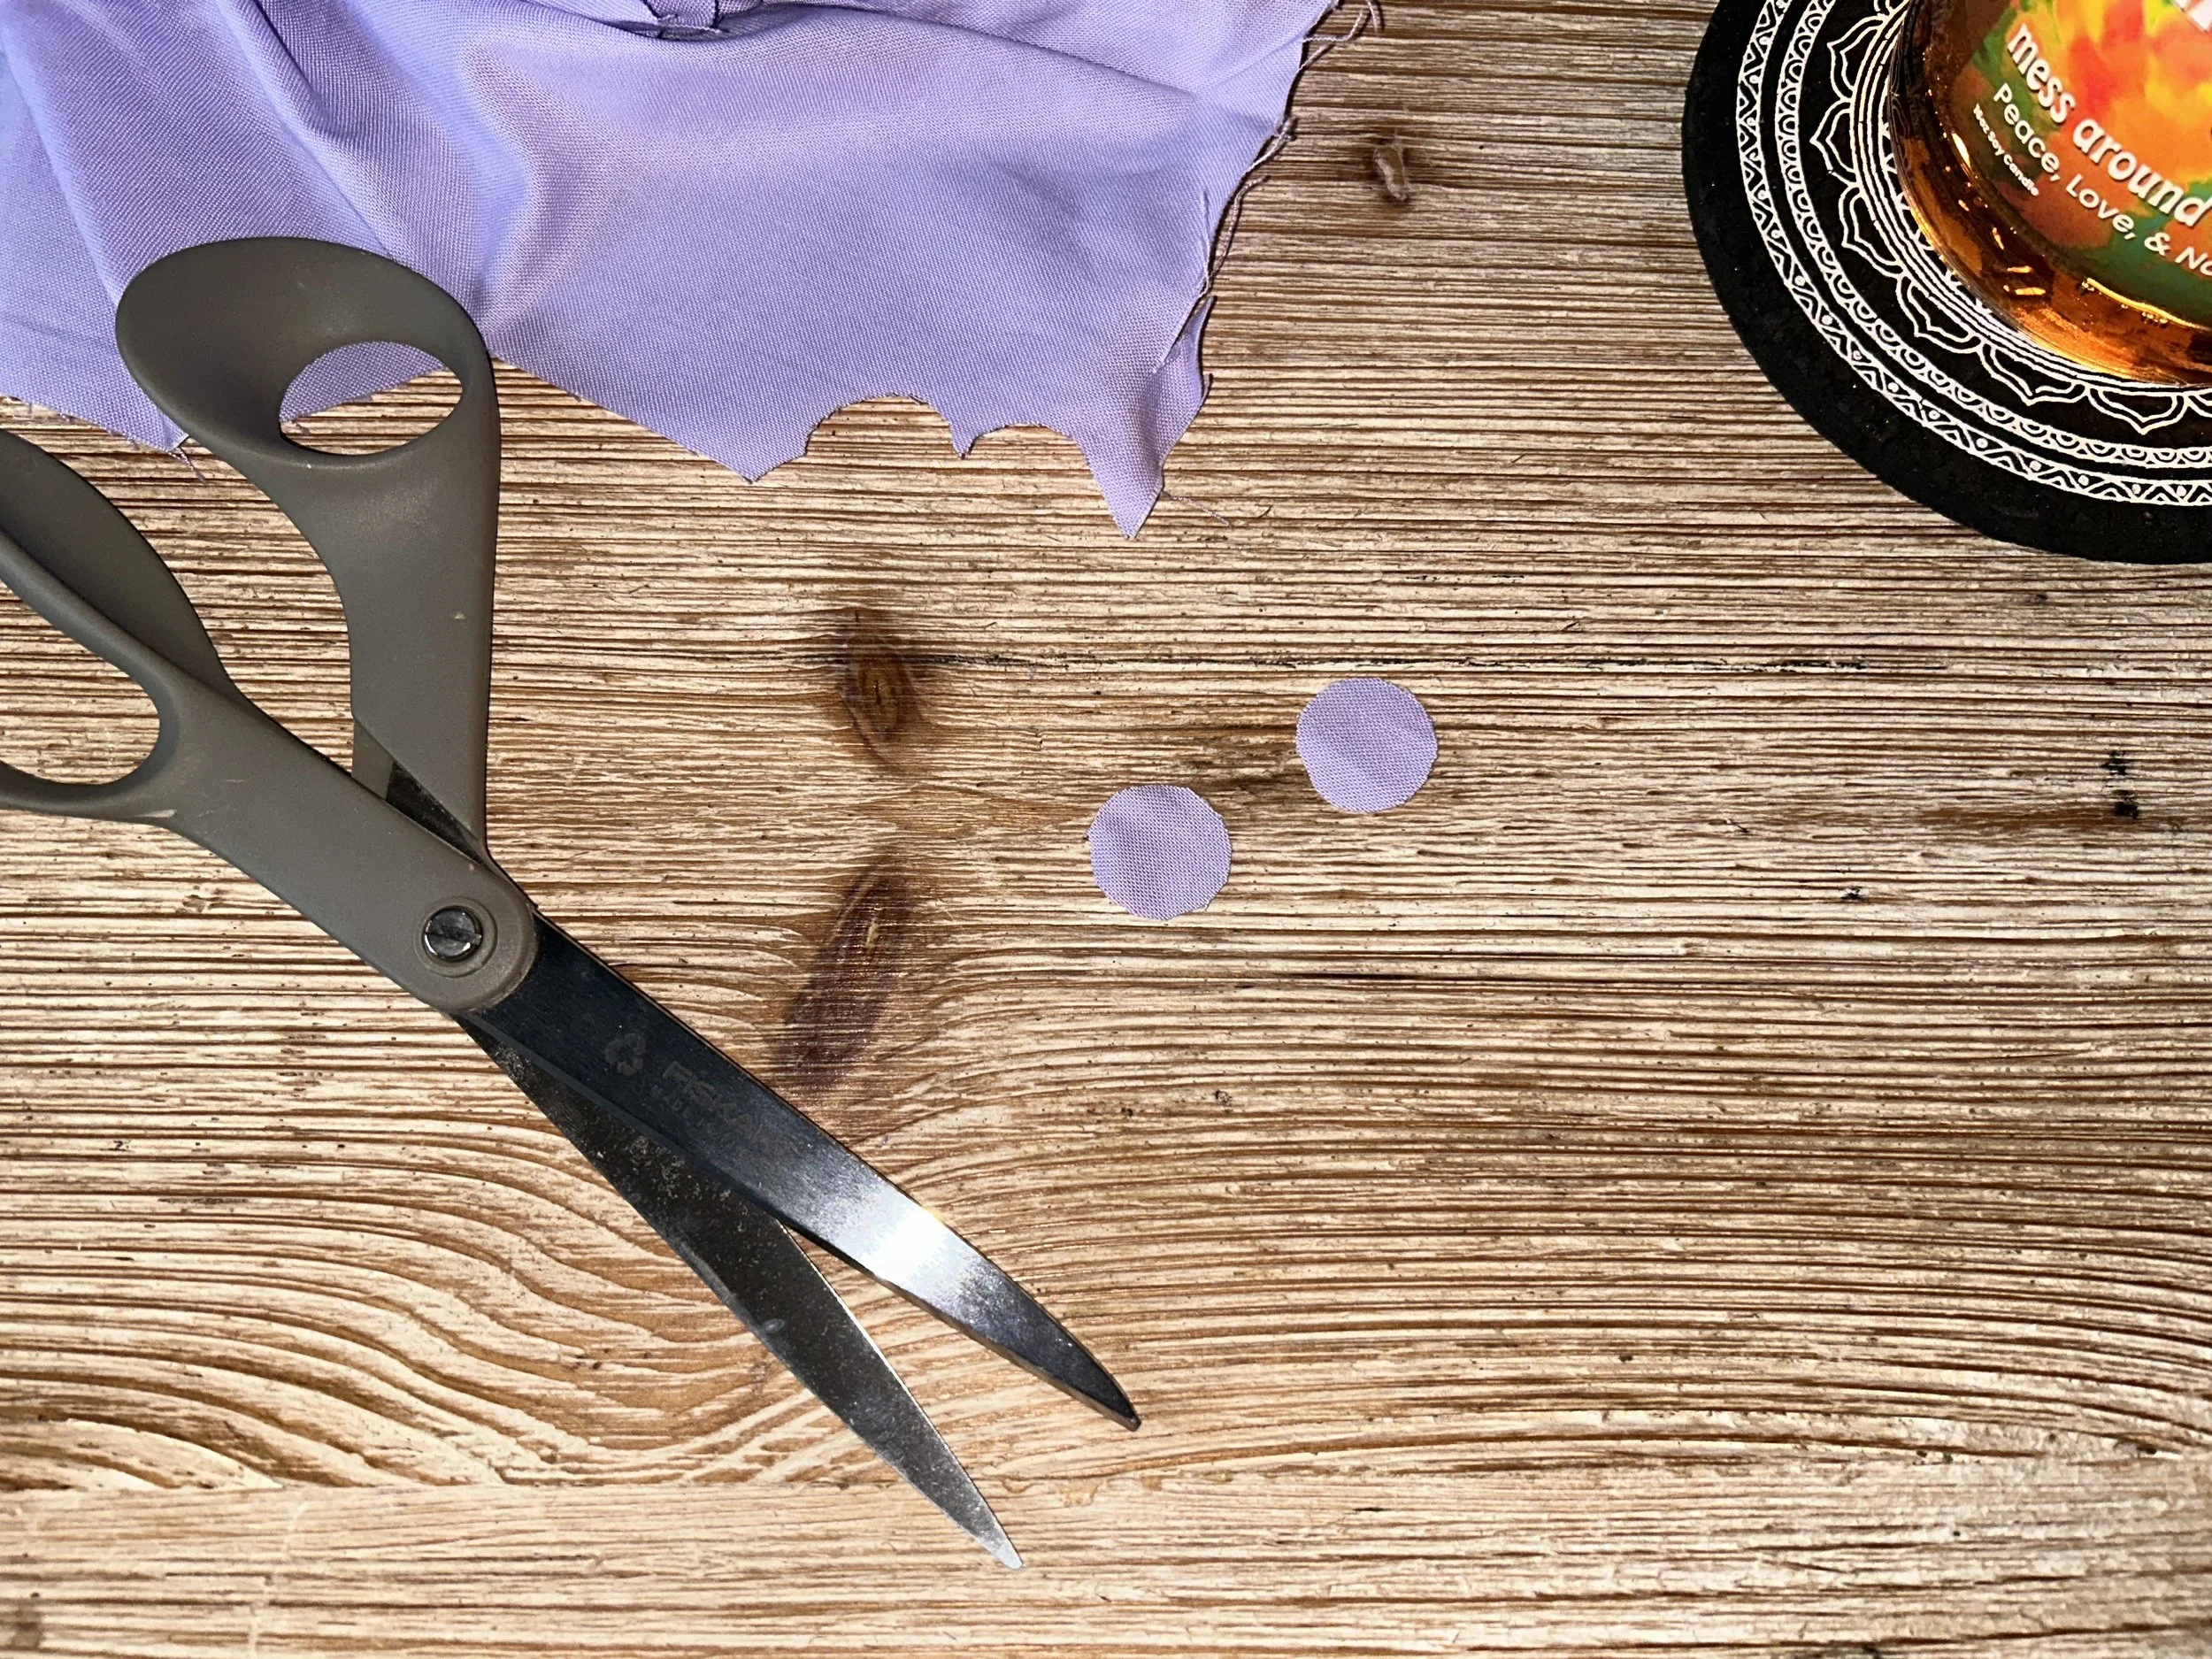
Step 1: Small, circular, lavender, cotton patches for t-shirt.
Choose fabric and cut into desired shape. This patch will go over the hole on the outside of your garment.
Note: Choosing a fabric depends on your desired fabric type, weight, and color. You may wish to match your patch with your garment or you may wish to make a bolder statement.
Note: Cut the patch so that it is at least ½ inch bigger than all edges of the hole. This overlap is important to ensure your patch is attached properly.
Optional: Cut out a second piece if you wish to patch the inside of the garment as well.

Step 2: Embroidery hoop placed around hole in t-shirt.
2. Place the garment in an embroidery hoop with the hole you wish to patch in the middle.

Steps 3-4: Patch is pinned into place, embroidery floss is cut to about 2 ft. Embroidery floss is currently being split into two three-piece threads.
3. Pin or glue patch into place.
Note: pin/glue patch on reverse side (inside) of clothing if desired.
4. Cut the embroidery floss to desired length. Separate the embroidery floss to desired line thickness.
Note: A commonly used thread length is about 2-3 feet.
Note: Sewists typically use 2-3 threads depending on desired thread boldness in the design. More threads will make a thicker line (great for color blocking) while less threads make a thinner line (great for detail work).

Steps 5-6: Needle is threaded and a knot is tied at the end of the thread on the back side of the hoop.
5. Thread the needle
Note: Wetting the end of the thread with your mouth and squishing it with your fingers flattens it, making it easier to thread through the eye of the needle.
6. Tie a knot at the end of the thread (furthest from the needle). Cut off any excess thread.

Step 6.a: The thread has been sewn back to front, then front to back. Both ends are sticking out of the back side of the embroidery hoop. From here, simply tie a knot using both ends of the thread and cut of any excess.
Note: One common method for tying a knot is to first stitch from the back of the hoop to the front, leaving a 2-3 inch tail out the back of the fabric. Then stitch from front to back near your first stitch. Pull only tight enough to create tension, not enough to pull the end of the thread through the fabric. At this point, you should have access to both ends of the thread in the back of the hoop. Simply tie a knot using your fingers. Pull tight enough to secure, but not tight enough to create a pinch on the fabric.

Steps 7-9: Patch is sewn around all edges, ends are tied off in the back, and design is sewn.
7. Sew around the edge of the patch, where it is overlapped with the garment. Pins may be removed, if applicable.
8. Tie off the end of the thread.
Note: An easy way to tie a knot is to use a stitch on the back of the hoop. Leave yourself about 4” of slack at the end of the thread. Use your needle to guide the thread around a stitch, then loop back through to create a knot, repeat to secure. Cut off any excess thread.
9. Sew your design!
Optional: Use your water-soluble/erasable pen to draw your design onto the patch/garment.
Note: Design may include a variety of colors, styles, line thicknesses, patches, beads, threads, etc. The sky's the limit!
Look online for stitch tutorials:
Pinterest: https://www.pinterest.com/search/pins/?q=stitch%20tutorials&rs=typed
Youtube: https://www.youtube.com/results?search_query=embroidery+stitch+tutorial
Look online for more design ideas: